Growing Asparagus.
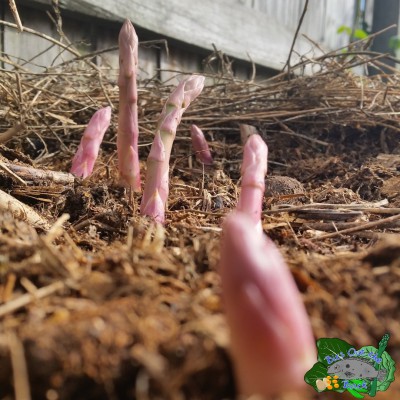
Asparagus is one of our favourite perennial plants to grow & will live for up to 20 years depending on variety & how it's cared for. They are also my favourite plant to graze on as I walk the patch in the morning at this time of year.
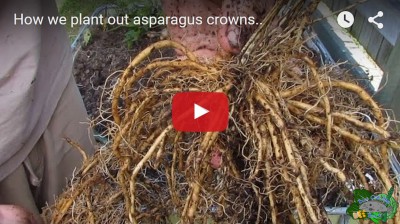
 We bought our original plants as advanced bare root crowns & were also lucky enough to get some gifted to us a few years ago as excess seedlings, thanks Tammy. They can also be grown from seed but take a few years to establish themselves before they're ready for harvest so most folks choose to start plants using the advanced crowns.
Growing from seed is very straight forward. Individual seeds are best started off in small pots or punnets in spring & then transplanted out later into position. All you need to do to start them off is fill a small pot with some good quality seed raising mix & sow the seed about 1½cm / ½" deep in the soil then keep moist.
 Once the plants are about 15cm / 6" tall they can be transplanted out. You can also sow directly into position but I find seedlings easier to care for in a mini nursery area.
Asparagus like a fairly neutral soil pH (6.5-7) so the addition of garden or dolomite lime can help raise the pH if the soil is slightly acidic. Adding some elemental sulphur (sometimes sold as flowers of sulphur) will help lower it if the pH is too high. These products usually have fairly straight forward instructions on the packaging to help guide you with application rates.
 The plants themselves can grow very large & are heavy feeders so I like to feed the soil up well before planting & then a few times during the year. The beds were prepared by digging through a large feed bag (40-50L / 10-13gal) of well aged/semi composted horse manure (cow, sheep, goat work just as well). This adds organic matter to the soil & helps to feed the micro organisms & worms that make the nutrients available to the plants. If no manure is available a good quality bagged compost would work just as well.
Planting out advanced crowns is very straight forward. As their roots are rather long it's recommended that you plant them out on a bit of a mound.
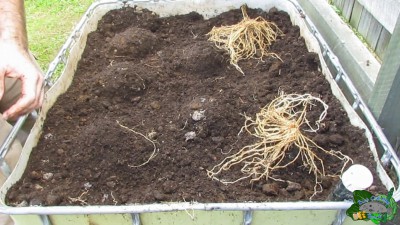 This allows the roots to spread out a bit & helps the plant to establish itself. Spacing between the plants is generally about 50cm or 18" apart. I've planted them a lot more intensively in the wicking bed (9 in aprox 1m²) as a bit of an experiment so like to feed them regularly with a basic compost tea to keep them well fed.
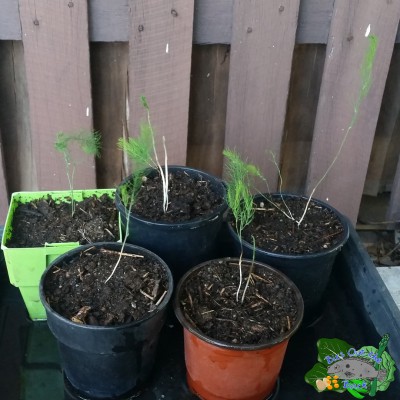
Below is a bit of a look at how I planted out the seedlings I received from Tammy for those folks interested in how we planted out our small wicking beds.
Planting out seedlings you've started yourself is also straight forward. As their roots aren't as developed as the advanced crowns they can be popped straight into a hole. To get our seedlings off to a great start I also like to work in a few good trowels full of compost or worm castings into the hole before popping the plants in.
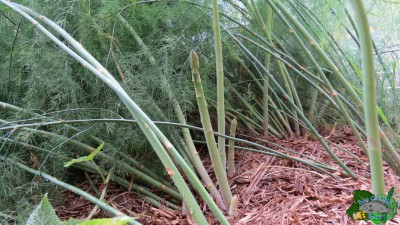
 The hardest part of growing asparagus is waiting the 2 years after planting before harvesting. It really does pay to let them establish themselves before picking the first lot of spears so the plant has time to develop a healthy crown. Harvesting the spears is fairly straight forward, with snapping them off at soil level to be the easiest. Some recommend using a knife to cut them off below soil level but I prefer not to just in case I damage the crown itself. A good rule of thumb to follow is to stop picking the spears once the new ones are the thickness of a pencil. Letting them grow into ferns once they reach this size will allow the crown to replenish its energy to provide you with spears for the next season.
To store the spears we've been popping them into a mug with some water in the base & leaving them on the bench. I find that while it's cool this will keep them fresh for 4-5 days if need be.
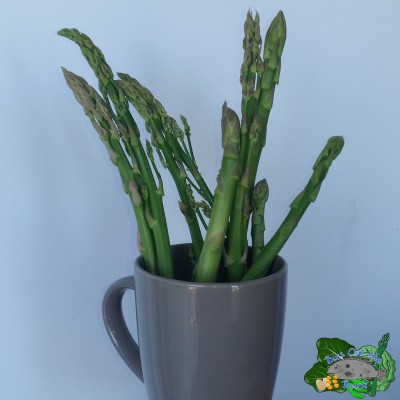 Once things start to warm up a bit the mug will be placed in the fridge to help keep them fresh & crunchy.
I have also been extending our harvest a bit by picking some of the underdeveloped growing tips on the ferns themselves which I show in the clip below.
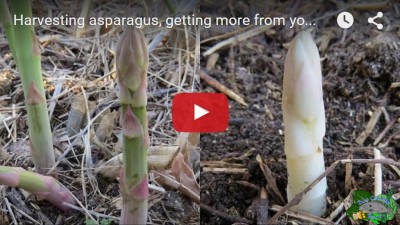 The clip has a bit of information on the difference between male & female plants towards the end for those that are interested.
One word of warning about letting the berries ripen & fall to the bed, they can cause a bit of a over crowding issue so it's a good idea to transplant them out to a new location or gift them to friends.
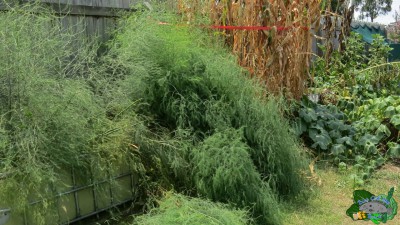
At the end of the growing season the ferns will start to die off. I like to trim them off about 10cm / 4" above ground level, chop them up & use the trimmings to mulch the bed. This is also a great time to feed the bed with some compost or aged manure to feed the soil ready for the next flush of spears in the following spring. As ours is a tad crowded I also like to give them a feed at the start of summer at the end of the spring flush as well just to keep them going.
Quick & colourful eats from the patch.
One of our favourite meals to whip up is an Asian style chicken soup that gets poured over raw veggies picked from the patch. What I love about this dish is that we can duck out the back, pick some veggies & have the soup in the bowl ready to eat in less than 30 minutes. It is also the base soup we use for our won ton soup.
The types of veggies that we use depend on what we have growing in the patch at the time.
 Some of my favourites to use are peas, beans, carrots, green onions, chard/silverbeet, chillies, broccoli, Thai Basil, cauliflower, Okinawan spinach & celery. The last batch we made up included asparagus which made a great addition. The soup base is very easy to make. In the past we've used the stock made from poaching chicken thighs that we had frozen & quite often use commercial stock as well.
This is the amounts we use to make up the soup for our family.
3cm / 1¼" piece of ginger, minced
2 cloves of garlic, crushed
1L chicken stock
2 chicken thighs, diced small (1 thigh for 2 people)
1Tbsp of soy sauce
1tsp sesame oil
For the veggies it's as easy as gathering a selection & quantity of veggies your family members would like, or what you have available in the garden at the time.
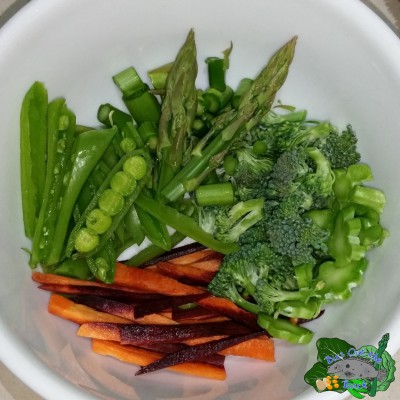 For us it's between 1½ & 2 cups each for the adults & about 1 for the kids of veggies that have been sliced thinly. This may come in handy in some households as it lets different family members add the veggies & herbs that they like.
To prepare the soup the stock, garlic, ginger, chicken & soy sauce are added to a pot & brought to a boil. It's then reduced to a high simmer for 10 minutes. Just before serving I like to add the sesame oil & stir through.
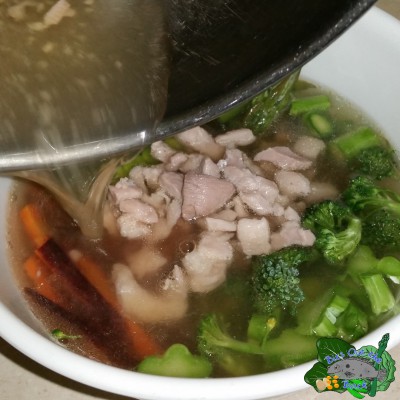 The soup is then poured over the raw veggies in the bowls & served. I really like that the veggies come out semi blanched & crisp, as I'm not a fan of cooked veggies. Just to be different I added a bit of extra sesame oil & some fish sauce to mine. ;-)
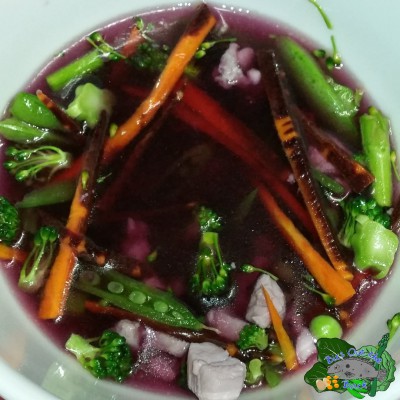 We got a bit of a surprise with our last batch when the purple pigment from the Dragon carrots started to bleed out into the soup. It was a novelty for the kids & even made the chicken turn purple after a while.
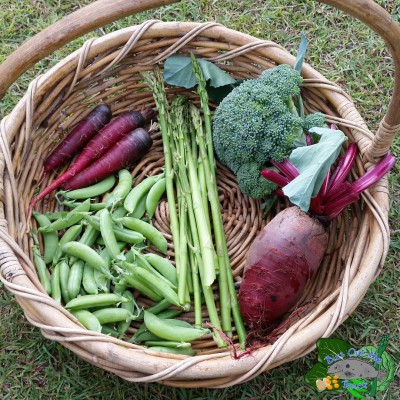
Quick look at the pickings.
Here's a bit of a look at the pickings we've been getting form the patch over the past month or so.
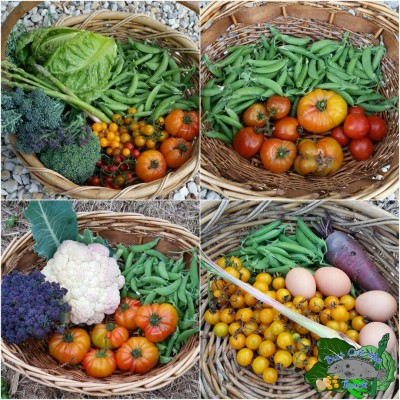 Have been very impressed with how well the sugar snap peas have gone for us in the aquaponics & Root Pouch. The plants were due to be pulled this week as they have started to slow down their flower production & have been battling a powdery mildew outbreak on the aquaponic plants. Will be planting out some ginger & climbing beans in its place I think. The Wherokowhai tomatoes are still giving us a few fruit every week & the various volunteer yellow currents are still yielding well.
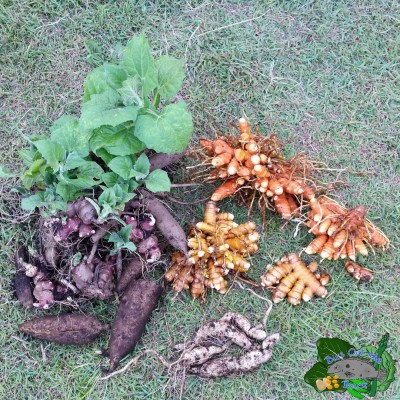 Here's a small harvest of turmeric, yacon & sweet potato from last week. They came from the wicking barrels that were cleared out to make way for 2 different types of taro. The turmeric is yet to be processed & the yacon plant was split up to share between 2 friends. The yacon tubers were saved for snacking on at night. Have had them aging a bit to let the sweetness develop but should be ready to munch on tonight.
The beetroot from the aquaponics has made its way to the dinner table a few times over the past week or so.
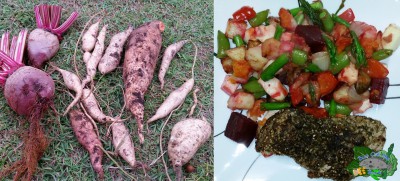 One of our favourite ways to cook it up is in a roast veggie medley with whatever's ready for harvest in the patch This one was made with beetroot, sweet potato, peas, asparagus & from the patch along with some store bought onion, potato, capsicum/sweet pepper & pan fried haloumi cheese. It was served beside some Za'atar dusted chicken thighs which has become a bit of a favourite in our house.
Harvested the aquaponic ginger & was very impressed with the yield.
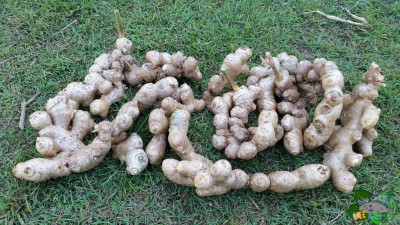 Some plants didn't provide as much as others but I think that came down to the size of rhizome I used to start them off.
 This time round I've chosen larger pieces with a few shoots on each to plant out.
The last of the broccoli will be taken from the patch by the end of this week I think.
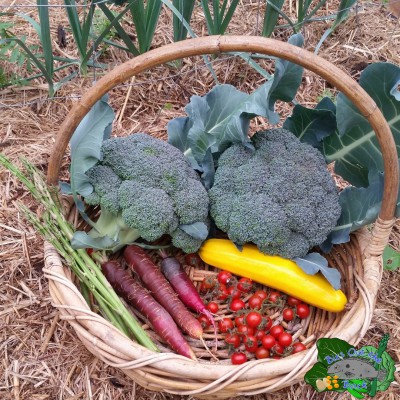 They've done really well for us this season just as the cauliflowers have. Have a few plants that are still providing us with side shoots but they will be coming out soon to make way for some other crops. Was very pleased to harvest the first zucchini for the season & am looking forward to the first of many raw zucchini "spaghetti" meals over summer.
Would be rude of me to sign off without a look at the asparagus that's been harvested from the patch methinks ;-)
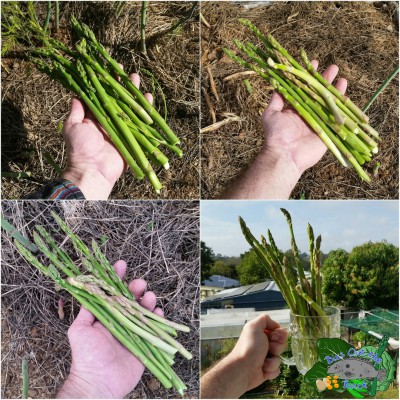 We are down to picking 10 or so spears every second or third day but that is more than enough to add to meals without the kids getting sick of it. ;-) Have been really impressed with the yield so far & think we'll be harvesting spears for a few more weeks to come.
So there you go folks. Hope you're all enjoying the warmer weather & getting out into the patch when you can.
Have a great one all.
Rob.

