Now that we are in Spring and the weather is warming up, I thought I'd start off with a bit of a round up on what's been going on in the patch over the last month or so..
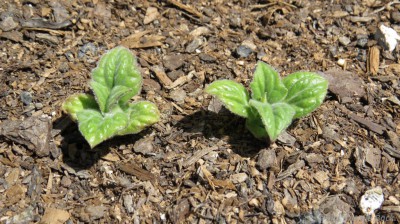
Spring seedlings & starts..
Have quite a few new seedlings in the propagation trays at the moment of varying age & size..
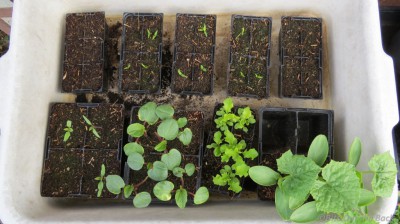
Half of the cucumbers have been planted out at my parents place and the remaining 2 will be going into a wicking bed down the back later today I hope..
Round 2 of starts were sown out into trays the other day.. This lot included some purple asparagus, Armenian cucumbers, red & sugarloaf cabbages.. A few of these have already started to germinate which is great..
A few plants have already been planted/sown out where they are to grow in the patch down the back as well as out the front..
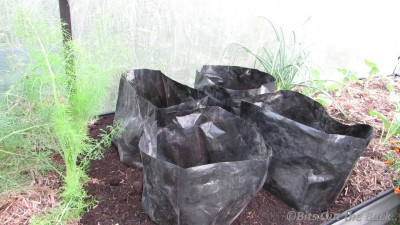
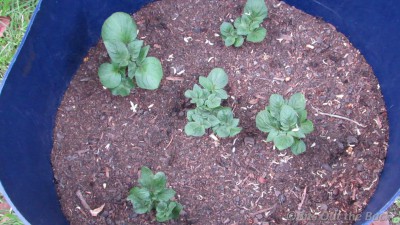
There are 4 bags of purple Congo potatoes at the back stairs with another 2 bags planted out in a wicking bed down the back next to 2 bags of Desiree spuds.. I decided to try a growing method I saw on a great YouTube gardening channel called "Allotment Diary".. What Dan does is bury the bottom 15-20cm of the potato grow bag into the garden bed so the potato roots have access to more moisture & the nutrients in the soil..
The last lot of potatoes that were planted out were some Desiree spuds that went into an old worm farm barrel..
The first lot of corn was sown directly into an IBC bed in the front yard.. We had a great germination rate with nearly all of them sprouting.. 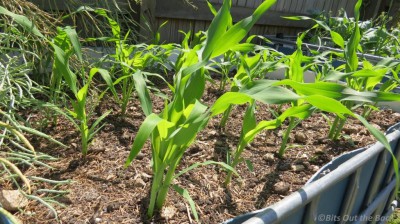
The first of the yacon rhizome have sprouted in some pots I used to start them off in..
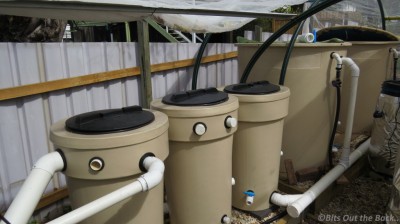
Aquaponic system..
A few weeks ago we finally got all the fish moved over into the new fish tanks & brought the new filters online..
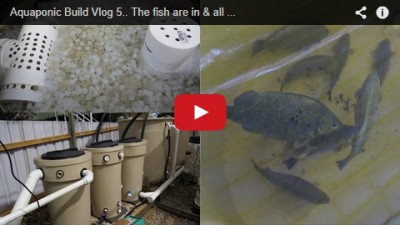
Now I can start to sort out the new grow bed & layout for the system as well as make up the new growing methods that we will be trialling.. I think mainly leaf green crops will be planted out in the system with a few capsicums, so we can do a comparison on growth between soil & aquaponics methods.. Am hoping to have a few grow buckets & tubes knocked off before the kids go back to school..
Some tips on controlling a few garden pest & infections without chemicals..
Keeping the patch pest free without the use of purchased chemicals can be a bit of a challenge at times so thought I would mention a few that we have used or have been recommended to me by family & friends..
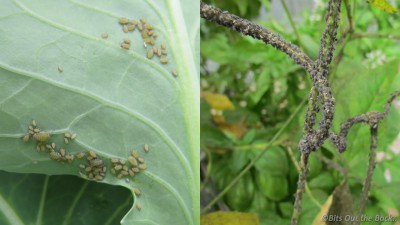
One of the most common pests in the patch are aphids.. These little sap suckers love to feast on your plants & can increase in number very quickly.. Some aphids are Parthenogenetic, meaning that the females can give birth without the need of the egg to be fertilised..
Another treatment we have used to keep on top of them is a simple soapy water spray.. It's as easy as mixing a tsp of pure liquid dishwashing soap into a litre/quart of water & spraying the little blighters.. The soap in the water washes off the protective waxy coating of the aphid causing them to dehydrate & die..
White oil is another product that many folks use in the garden to control pests like mealy bugs, white flies, mites, scale, aphids, citrus leaf miner & caterpillars.. While I haven't used white oil much myself I do know a few gardeners that use the available commercial white oils.. You can also make it yourself from household ingredients we all have around the house..
Gardening Australia's Jerry Coleby-Williams has a recipe that uses 2 cups of vegetable oil & ½ a cup of washing up liquid.. All you need to do is pour the 2 ingredients into a jar & give it a good shake to combine them.. This simple white oil will last for about 3 months before a new batch needs to be made.. To make up a batch to use in the patch you add 2tsp of oil mix to 1Litre of water, shake & spray on the infested plants.. The oil mix works by blocking the spiracles (breathing pores/tubes) on the pest, suffocating them very quickly..
Mildew is another issue we have here during the more humid months.. Powdery & downy mildew normally affects the squash, zucchini & pumpkins in our garden.. If caught early enough they can be managed with a very cheap home remedy using an active ingredient found in most SS'ers pantries or cleaning kits, bi-carb/baking soda.. The bi-Carb raises the pH killing the mildew & it's spores.. This is one remedy I have used for a while now & found quite effective.. I like to spray all the susceptible plants in the patch at the first sign of an outbreak.. The spay is made by adding 1Tbsp of bi-Carb to 2 litres of water & add in a few drops of dishwashing liquid to help the mix stick to the mildew..
I have also used a commercial potassium bi-carbonate fungicide (called "Eco Fungicide") in the past to treat mildew on the plants.. It is actually quite expensive to use when compared to bi-carb soda so now only use it to raise the pH & potassium levels in the aquaponic system ;-)
Just a quick reminder to always test spray a leaf or 2 of any plant you want to treat to make sure there will be no adverse reactions to the remedies being used.. If the leaf still looks fine 24 hours later you should be good to proceed with treating the whole plant.. Another thing to remember is that they may need reaplying after rain as they will wash off..
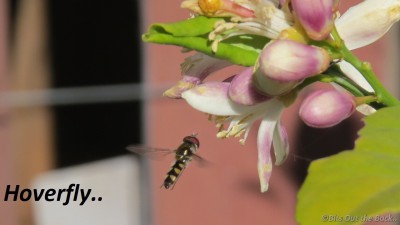
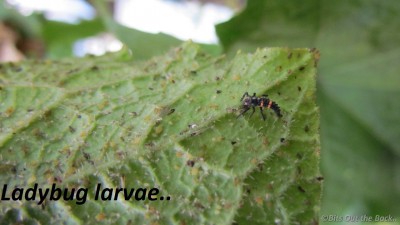
Encouraging beneficial insects like lacewings, ladybugs, hoverflies & parasitic wasps into the garden is another way to help control pest outbreaks in the patch for very little cost..
We have also left aphids alone on some plants when we noticed an extraordinary number of ladybugs & their offspring feasting on them..
Another chemical free option is to exclude as many pests as you can from accessing the plants & have covered this before in a recent blog post.. While insect netting & hoop houses can be costly to initially set up, a good quality netting can last for 5+ years making it very cost effective..
This would have to be my favourite option as it keeps out some of the more troublesome pests like cabbage butterflies & the dreaded Queensland fruit fly.. It also frees up time that would normally be spent inspecting the plants for outbreaks & spraying them..
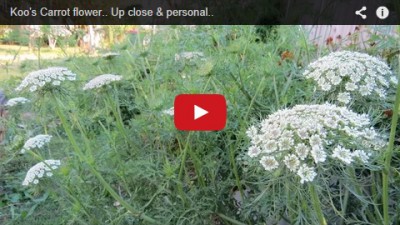
Koo's Carrot flower..
Our youngest DD let one of her purple carrots go to seed just to see what would happen.. The amount of flowers the plant has produced has really impressed us & we hope to collect a load of seed to see how they go.. Here's a quick look at how spectacular the flower of the humble carrot can be..
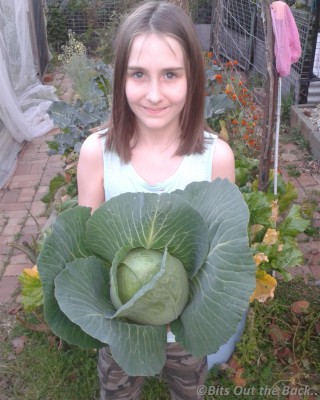
Harvest from the patch..
I must say that we have had some fantastic harvests from the patch over Winter with a few surprises thrown in like the volunteer KY1 tomato that popped up in a wicking bed in the front yard..
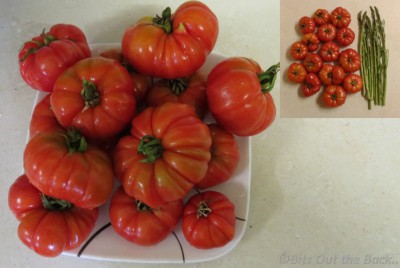
This year is the first time we have been able to do a full harvest on the asparagus growing in the front garden..

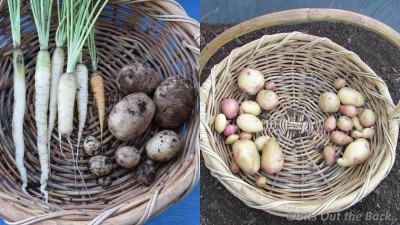
As mentioned above, the last 3 batches of potatoes we harvested weren't much chop..
That's all I have for you for this blog..
Hope you all have your Spring garden planned & seeds ready for sowing.. I know I shall be busy over these school holidays preparing a few beds & sorting out the next few rounds of seeds to sow out..
Cheers & have a great one,
Rob..

