No dig potato barrel...
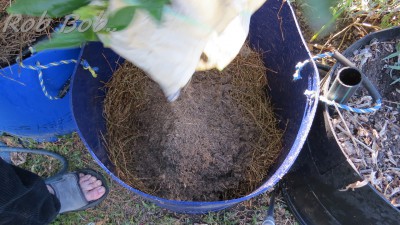
After making a few small no dig beds this year I thought a no dig barrel was on the cards to try & grow a few spuds in.. No dig beds/gardens are based on the stacking of different organic materials on top of each other.. The different layers then slowly compost down releasing nutrients for plants to take up.. The bed I have seen set up had organic matter constantly added in the form of mulches, compost & manures to help increase its fertility.. The bed was set up on very compacted rocky ground & over time the ground beneath slowly began to transform into great looking rich humus as beneficial micro organisms, fungus & worms moved in.. I think it is a great method of gardening & one I would like to try on a more suitable piece of land in the future but for now will be trying it out in a wicking bed..
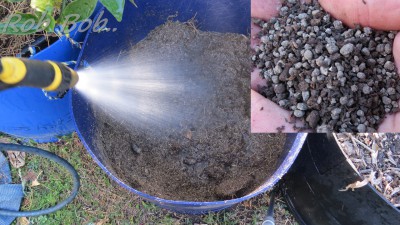
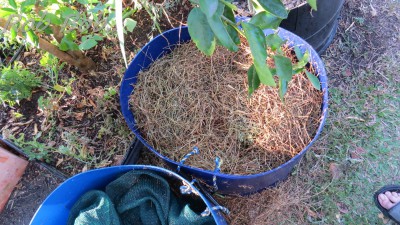
Planted out 2 lots of potatoes this week in 2 different spots in the yard using the above no dig method.. The first were popped back into the re-worked no dig bed out the front & the second going into a barrel out the back under the Tahitian lime tree..
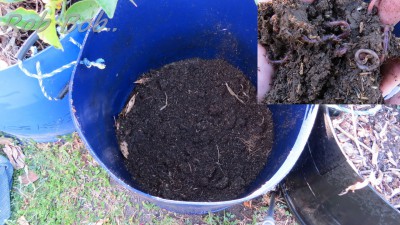
The barrel already had a load of holes in the base & was really easy to set up.. I started off with a recently harvested worm barrel that had a thin layer of castings & worms left in the base..
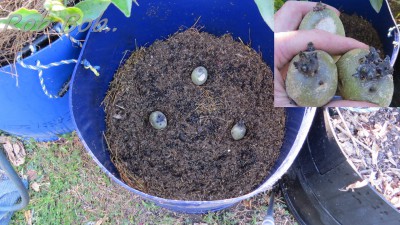
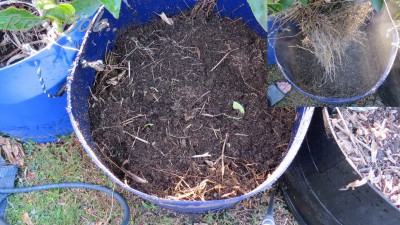
We now have 2 no dig lots on the go with another 2 wicking barrels with spuds in them that have already sprouted.. Another no dig barrel will be set up in a few more weeks time so we can try to continually harvest some spuds over the summer months..
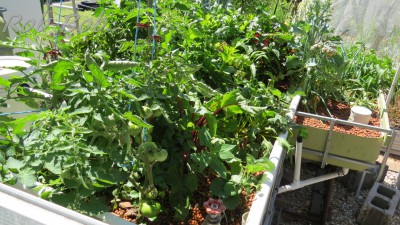
Setting up the tomato beds...
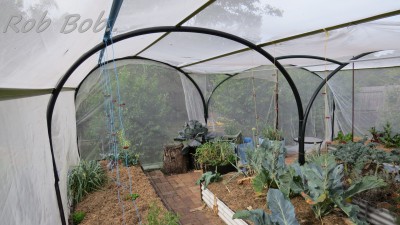
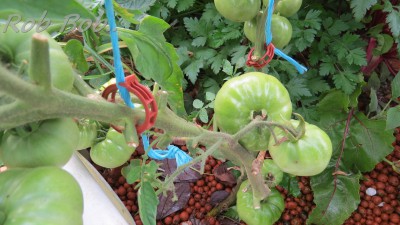
The problem I have when growing tomatoes is trying to keep them off the ground & tied up properly.. One issue with the wicking beds is that you can't drive stakes into the base, which can limit the way that plants can be grown.. Previously with the tomatoes I have tied them with twine to the battens in the hoop house.. This is quite hash on the plants & tends to damage the stems a bit.. I decided to take the plunge & forked out for some plant clips after seeing them used by a few people with great results.. The clips set me back about 12¢ each, are UV stabilised & reusable so well worth the investment I think.. They can be used on plants like beans, cucumbers & tomatoes that could do with a bit of extra support..

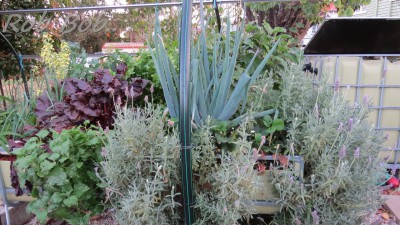
Aquaponic update...
I have been very impressed with the amount of growth in the system over the past few weeks..
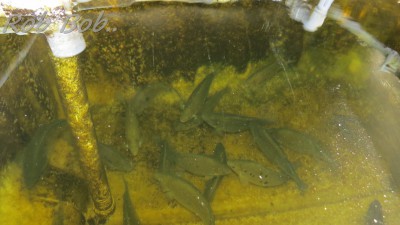
Posted a clip on YT as well for anyone that feels like a wander around the system..
That's it for this week's blog.. Think I might even be able to squeeze in some ginger planting before the day is done if I get a wriggle on ;)»
Hope you all had a chance to get some dirt under your fingernails this weekend & have a great week..
Cheers,
Rob :)»

