Straw/hay bale gardens...
Over the past month & a bit I have started to make preparations for expanding the veggie patch into the front yard.. I have decided to make as much soil & compost as possible,in order to both save us some money as well as give out plants the best start we can..
After dwelling on this for a while I decided to try making & growing in a few straw bale garden beds.. The beauty of this style of bed is that you can grow in them while they are slowly breaking down into a rich compost & mulch..
Most books & web sites will recommend that you use straw because straw bales have a minimum of seeds.. I decided to go with lucerne hay as I am not concerned if any seeds sprout.. Our chooks love to munch on the greens so they will not go to waste.. The bonus of lucerne is the nitrogen content being very high & so it will break down into a very rich compost/growing medium..
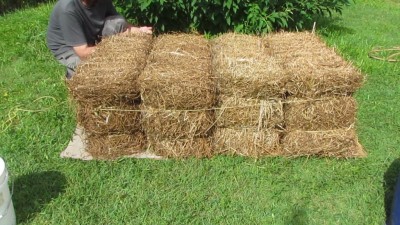
I was very lucky that a local couple, that have a permaculture farm west of Ipswich, had just received a load of poor quality lucerne hay at a great price & they were passing onto other gardeners.. The hay is not good enough to be stock feed because it got wet at the wrong time of the curing process.. I have gotten 9 bales so far & another 4 on their way, as I plan to have 2 or 3 of these beds set up in the front yard..
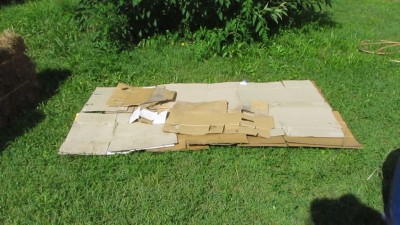
Here is a list of what I used to create our first bed..
Cardboard
Baling twine (fine wire or string would work well too)
4 straw bales
Complete natural fertiliser
Dolomite lime
Compost or manure
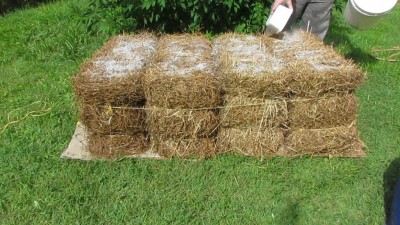
The fertilisers I used is a chicken manure, blood 'n' bone & mineral dust blend called CBM & I added some dynamic lifter as well.. A mix of chicken based fertilisers like dynamic lifter or rooster booster with some blood & bone looks to be a popular blend of fertilisers used by many for this type of bed.. About 1.5kg of fertiliser was added all up.. As I will be planting tomatoes & chillies in this bed I thought it best to add some dolomite lime.. The added calcium in the lime should ensure that they don't end up with a bout of blossom end rot..
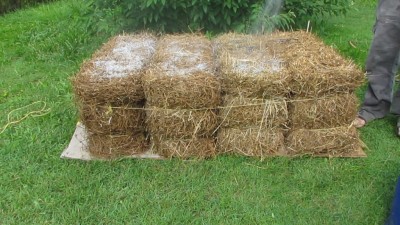


The bales started to heat up by the next morning which is a great sign that the composting cycle has begun.. I think it will probably continue to "cook" over the next week or 2.. Once it starts to cool down I shall be planting out some Tigerella tomatoes, that were gifted to us by a fellow SS'er, along with some jalapeno chillies, garlic & herbs.. 4 of the bales dropped off on Thursday were used to make another bed yesterday.. Just need to add the fertiliser & composted manure on the top then it can start cooking down.. The left over bale will be used to start a potato bed in the front yard this weekend & hope to plant it out by next weekend..
I will be sure to let you know the progress of these beds in upcoming blogs.
Walk around clip..
I did a walk around clip of the yard this week for those that would like a wander though the patch..

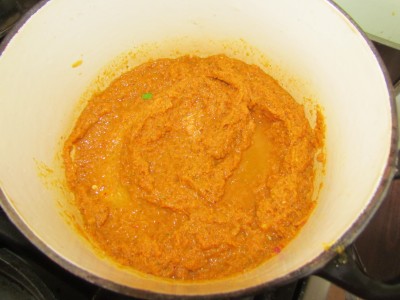
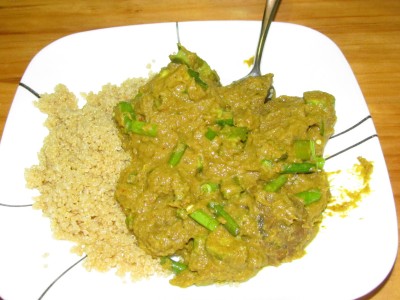
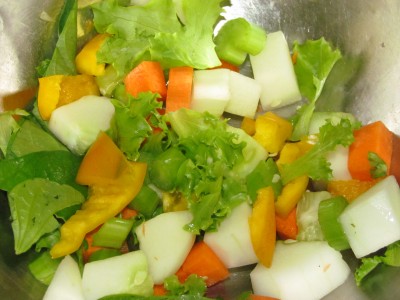
Pickings from the patch & a quick curry...
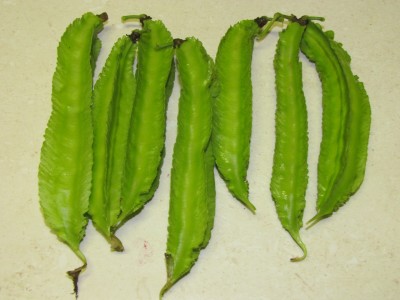
Have started to harvest the wing beans this week..

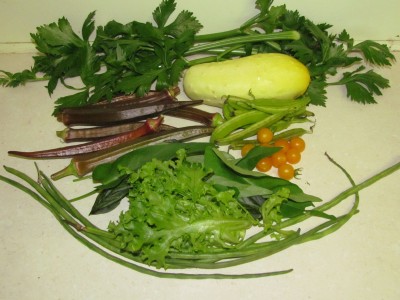
Maya made up a great salad to go along side her first lasagne she had ever made from scratch..
Ummm, this is where I would normally say something about wanting to show some progress on the hoop house extension in the following week's blog... I don't think I shall this week ; )» You will just have to wait until the next blog to see if I manage to get motivated..
Hope you all have a great weekend in the patch...
Rob..

