Easy as worm farm...
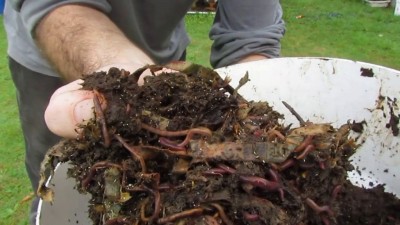
For a couple of years now we have been using ½ 200L barrels as dump & run worm farms.. It is a very basic concept where we add organic matter into the barrel, lawn clippings & trimmings from the patch, then the worms feed on it.. I find a great way to get the worms to eat through the garden prunings/trimmings is to run them over with a mower first..
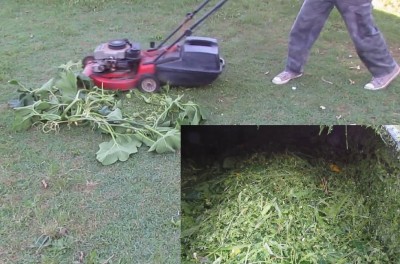 The squirmers love it & do a great job at breaking it all down into some of the richest fertiliser you can make at home.. You could also use UV stabilised plastic crates or containers to do the same job but I like these barrels as they are so cheap & I can get 2 x 100L containers for under $30..
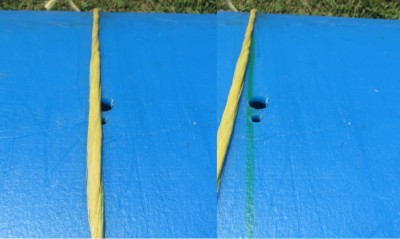 If you are using a barrel & need to cut it in half I found the best method to mark out the half way point in 4 spots around the barrel.. Then take some string, wrap it around the barrel lining it up on the marks & then following the string all the way around draw a straight line..
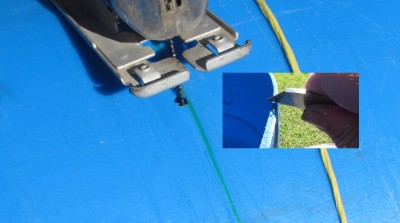 I found the best way to cut the barrel is to drill a hole & then use a jigsaw to cut along the line you have drawn..There will be some scruffy edges left on the plastic but they are easy enough to remove by dragging the blade of a knife along the edges & scrape them off..
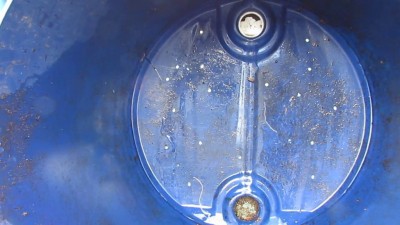 Once you have a ½ barrel or container sorted all you need to do is drill 20 or so holes in the base with a 6-10 cm drill bit.. I have had people ask about the worms escaping from the holes in the base but I really don't think that is an issue as long as there is food in the barrel.. In over 2 years I have only seen the numbers in the barrels increase so I figure they are very happy in there.. If you are concerned a piece of shade cloth or weed mat should help to keep them contained..
 I also attach handles to ours, like our wicking barrels, this makes them easier to move around the yard.. All you need for these optional extras is some rope.. Just need to drill 2 holes slightly larger than the rope then tie a knot in one end & feed it through the hole from the inside of the barrel.. I thread a 10-15cm section of 13mm irrigation pipe/hose onto the rope then feed the end of the rope through the other hole & tie a knot in the end to secure it.. The irrigation pipe isn't a necessity but it does stop the rope cutting into my dainty fingers when I'm moving heavy barrels around the yard..
Once the barrel is ready, it is a good idea to put the farm in the spot you want it before filling it.. I like to start it off with some horse manure in the bottom, because it acts as a bedding as well as food for the worms..To start off a farm like this you don't need many worms..
 I grabbed a couple of handfuls from our bathtub farm as well as some from the base of another farm & buried them in the centre of the barrel..
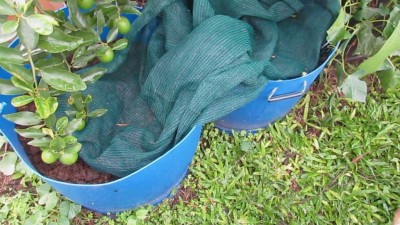 All that's left to do is cover them up.. All I use is a section of shade cloth.. A more ridged top, like a piece of tin with a brick on it, would be just as good but I like the cloth as it allows access for the rain which helps keep the barrel moist.. It shouldn't take too long for these guys to breed & start producing some excellent fertiliser for the patch..
One of the advantages to this style of farm is that you can place it under a tree or in a garden bed & all the nutrient rich leachate will drain through the holes in the base & feed the plants that surround it..
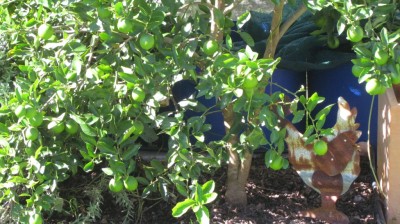 Bianca & I both think the barrels under the Tahitian lime tree is the reason it has given us such a bumper crop this year after struggling to fruit for so long.. The new farm in the above pictures will be going under the Kaffir lime tree as soon as I clear a spot for it..
Straw/hay bale garden...
The straw/hay bale garden bed finished "cooking" last weekend so I planted it out during the week.. I made a clip to show how it was put together & planted out, for those that are interested..
I have since made up another hay bale bed, as well as a no dig straw bed to plant some potatoes. It is similar to the Peter Cundall's no dig method..
There shall be more on that soon hopefully..
Happy harvests...
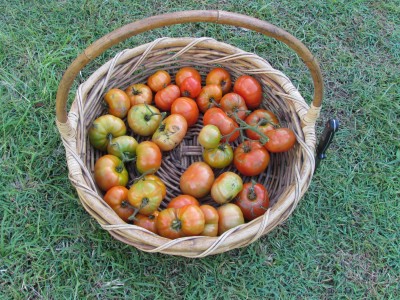 Picked a few kilos of the KY1 tomatoes this week.. Am going to try making up some tomato powder with these once they all finishing ripening.. It is hard not to munch into them though so I think we might save what is left on the plants for the table..
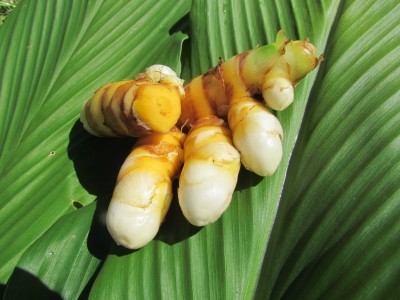 Harvested the first of what I thought was white turmeric this week but it turns out it is a different, more bitter variety again.. It has been suggested that it might be Filipino turmeric so we a waiting to see if a friend can identify it for us..
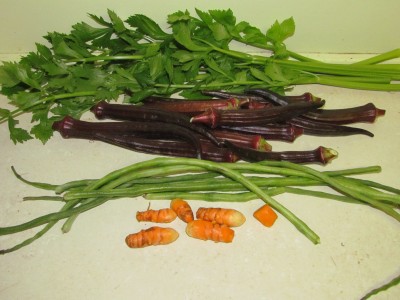 After I picked the other turmeric I decided to pick some that we have been growing for the past few years to do a comparison taste test against.. As it was picked I couldn't think of a better way to use it than in a fried quinoa dish along with the other veggies & some chilli picked that day..
 It made an excellent side to some Chinese style pork belly..
Decided to pull the bih jolokia plants as I can't see us eating all those supper hot chillies..
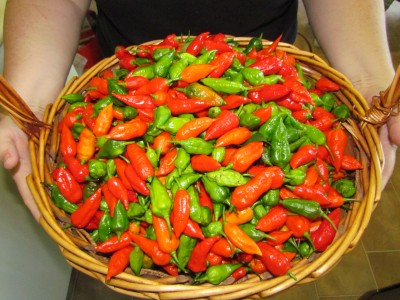 We got 3½kg of fruit (enough to bring down a small herd of elephants) so decided to offer them on a few local Facebook gardening groups & managed to give away 3kg of them to some very game people..
One of the chaps was nice enough to drop off 5 jars of ghost chilli sauce that he made up on Friday..
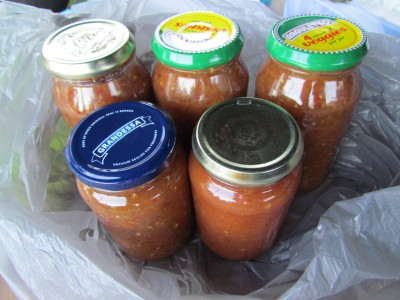 Thinking that we will be passing a few of these on as well.. There is no way we could devour all that sauce :D»
I also have a bit of a cautionary tale regarding these chillies..
Was tidying up the seed drying plates I have on the table here, 2 of which have had some jolokia seeds on them.. I finished up & sat back to enjoy a quiet morning coffee before everyone else awoke.. While enjoying my coffee I rubbed my eye & was hit with a wave of burning pain I have never felt before.. Both eyes & nose were flowing like rivers almost instantly.. One of the plates I had just handled must of had some residue of the chilli fruit on the rim & transferred to my fingers.. I woke Bianca up & she came to my rescue by rinsing my eye out with saline solution for about 10 minutes..
 The intense pain lasted the whole time she was rinsing & slowly started to dissipate after that..
That's about it for this week I guess..
Shall be back again next weekend with another post.. Hope you all have a great week & managed to get some soil under your nails : )»
Have a great one..
Rob..

