Here are 1 "wicking bed" tips.
How to make an IBC Wicking Bed
Lower Your Food Bill With Wicking Beds
Growing your own food is a great way to save money and the easiest way to do it is by building yourself a couple of IBC wicking beds.
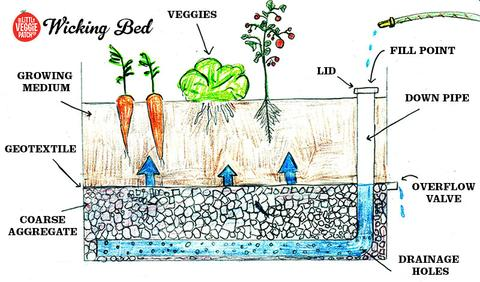
Wicking beds are sort of like really big, self-watering plant pots. They have a large reservoir of water and gravel in the bottom. The water wicks up through the gravel to the soil, creating a perfect growing environment for thirsty plants and healthy soil.
This drawing from Little Veggie Patch shows how they work.
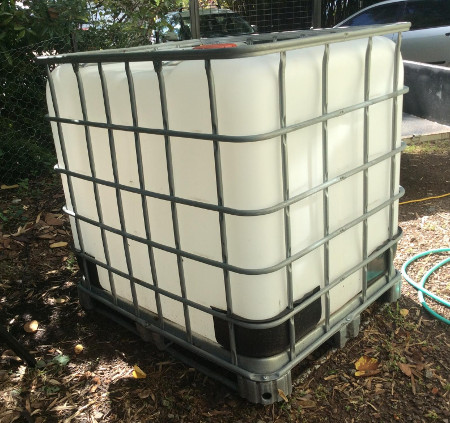
They are a simple way to create an oasis of vegies. The cheapest way to make one is with recycled intermediate bulk containers (IBC). IBCs are used to transport chemicals and food by farmers and manufacturers. When they are empty they are disposed or recycled.
IBCs are popular for re-use as wicking beds, aquaponic systems and small water tanks. Even if you've never heard of them, you've almost certainly seen one:
Buying an IBC
Many people recommend buying your IBC on Gumtree or Facebook. The cost ranges from free to about $180. This depends on what was stored in the IBC, the ease of cleaning it, and and why it's being sold.
The first rule for buying an IBC is to ask what was stored in it and how easy it will be to clean. If the container was used to store hazardous or difficult to clean chemicals, don't buy it.
You can find a good deal on second hand IBCs on Gumtree or Facebook, but I found it was easier to ring around some local factories. I found one who sells their old IBCs for $60.
IBC Wicking Bed How-to Videos
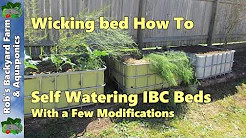
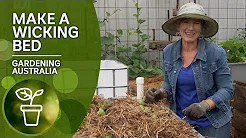
Here are two good videos showing how to build IBC wicking beds. The first is by our beloved Rob Bob. The second by Sophie from Gardening Australia. These videos are a great place to start.
What We Did
Step 1: Choose your spot and level it.
Your wicking bed needs to be fairly level. Choose a sunny spot and level it. An IBC is pallet-sized, so a pair of 1.2m square areas is about right (one IBC is cut in half to make two beds.)
Step 2: Go shopping
Here is a list of everything we bought for our new wicking beds. We were building our vegie garden from scratch so our expenses are a bit high.
Making the wicking beds:
| 1 | IBC | $60 |
| 1 roll | Weed mat (1.8 x 5m) | $9.97 |
| 10m | 50mm ag pipe (plenty spare for a few more beds) | $18.45 |
| 2 | 15mm tank outlets to go through side of IBC | $7.60 |
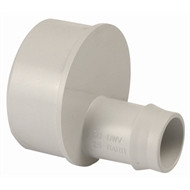
| 2 | Grey water hose adaptor | $8.80 |
| 2 | Threaded to barbed elbows from tank outlet to overflow/sight tubes | $2.90 |
| 2 | 19mm barbed polypipe elbows for fill tubes | $3.40 |
| 1 | Length of 19mm clear PVC tube for overflow/sight tubes | $7.90 |
| 2 | Grey water hose adaptors | $8.80 |
| Subtotal: | $127.82 |
Filling the beds:
| 1 | ½m3 5-7 mm screenings | $40 |
| 1 | ½m3 soil mixed by nursery; 30% compost, 70% loam | $40 |
| 1 | 1 Litre Grow organic fertiliser/microrobes | $15.95 |
| 1 | Dr Worms 500 live worms | $30.00 |
| 1 | Sugar Cane Mulch | $12.00 |
| Subtotal: | $137.95 |
Planting the beds:
| 1 | Gourmet 4 cell | $4.69 |
| 1 | Sugar Snap Dwarf Seedlings | $2.99 |
| 1 | Coriander Seedlings | $2.99 |
| 1 | Capsicum | $2.99 |
| 1 | Basil Seedlings | $2.99 |
| 1 | Tomato Cherry | $2.99 |
| 1 | Beetroot Crimson Seeds | $2.90 |
| 1 | Snow pea Seeds | $4.63 |
| 1 | Silverbeet rainbow | $2.99 |
| Subtotal: | $30.16 |
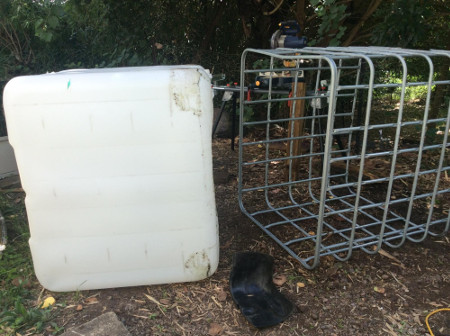
Step 3: Cutting the IBC
Separate the cage from the tank by unscrewing the cage and pulling them apart.
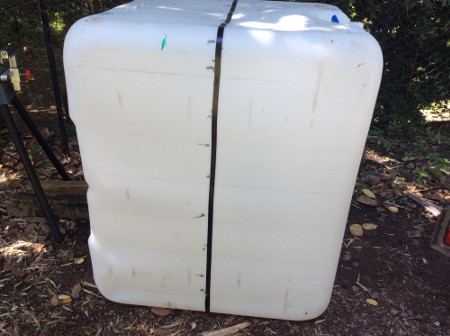
Mark the half way point with a marker and electrical tape.
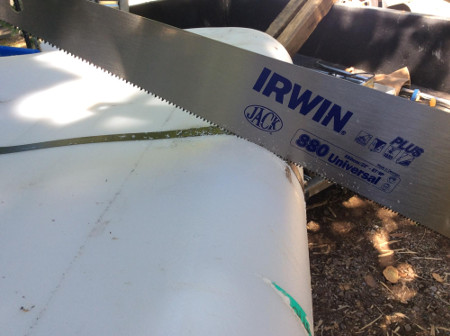
Use a saw to cut the tank and an angle grinder to cut the cage.
Hammer the cut ends of the cage flat. These will be stuck into the ground.

Place the container and cage in position. Then install the plumbing...
Step 4: The plumbing
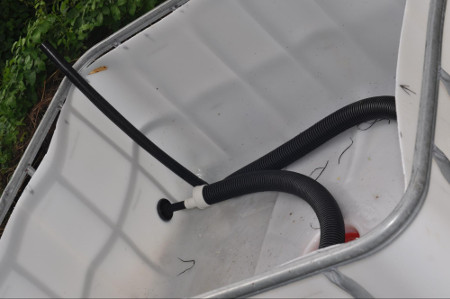
Here you can see the fill tube and the overflow pipe.
The fill tube is a vertical piece of polypipe with an elbow to another piece which is fed into a 1 metre length of ag pipe. It's just sitting in the ag pipe, not in any kind of adaptor or fitting. The purpose is to allow the incoming water to disperse faster. It can accept a fast-running hose in the top and not have water backing up out of the fill tube.
The overflow pipe is a length of 50mm ag drain with the end stuffed with some weed mat (because caps are absurdly expensive for a little piece of plastic).
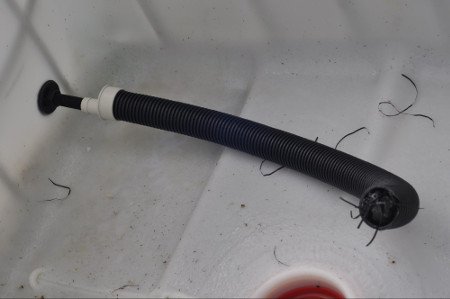
A tank outlet goes through a hole drilled in the side of the bed near the bottom. The ag pipe is connected to this with a 50 -> 25mm 'grey water adaptor', chosen because it happens to be a snug push-fit onto the tank outlet. These are all just pushed together then buried carefully in gravel so the gravel holds them. All of the ag pipe is laid flat along the bottom of the tank.
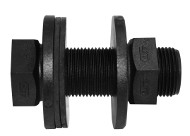
Here is how it looks from the outside before we add the elbow and clear pipe.

Then the outlet receives an elbow and a short piece of clear tube. This tube should be a bit over half the height of the bed initially, but is later trimmed so it sets the water level exactly right for the level of gravel in the bed.
There is more detail about this in the links further down. This level is crucial, as it decides whether or not the wicking bed works properly, and it prevents the bed flooding (killing all your plants) when it get too much water, such as during heavy rain.

Next we added ½ cubic metre of screening 7mm or under. Do not use aggregate larger than 7mm. For more info about that, read this article.
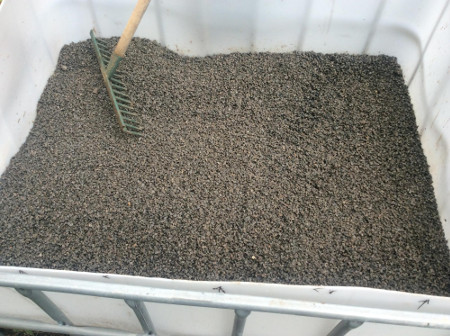
Then level out the gravel. Fill it with water up to almost the gravel level, then walk around in there and pack the gravel down until it is exactly at the water level all around. Compacting the gravel and then trimming the overflow tube is how you accurately set the water level.
Add woven weed mat.
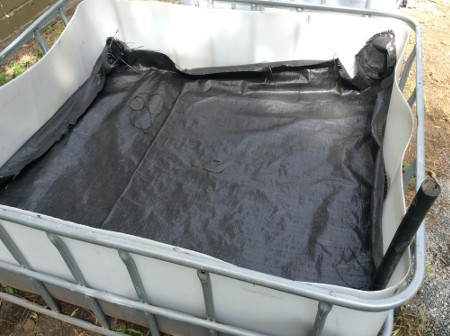
Fill with soil.
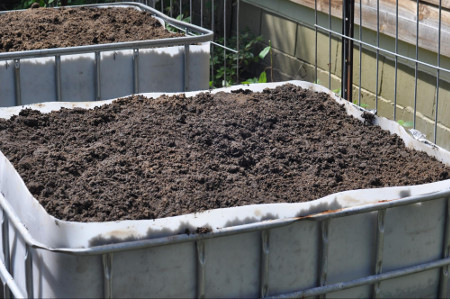
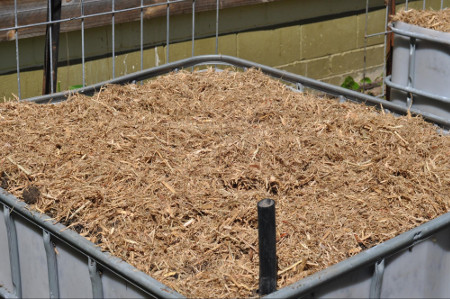
Add mulch, and it's ready for planting!
References:
How to Make a Wicking Bed - We mostly followed this system, but we're using two IBC halves instead of raised timber-framed garden beds.
Water-Right is Colin Austin's site. Colin is the man who started the whole wicking bed thing.

